With all the Aquatherm piping run on the inside of the bus (you can see the post all about Aquatherm here and the video here), it is now time to address the bus exterior plumbing. This includes all the components for our tanks, plumbing manifolds, and filtration.
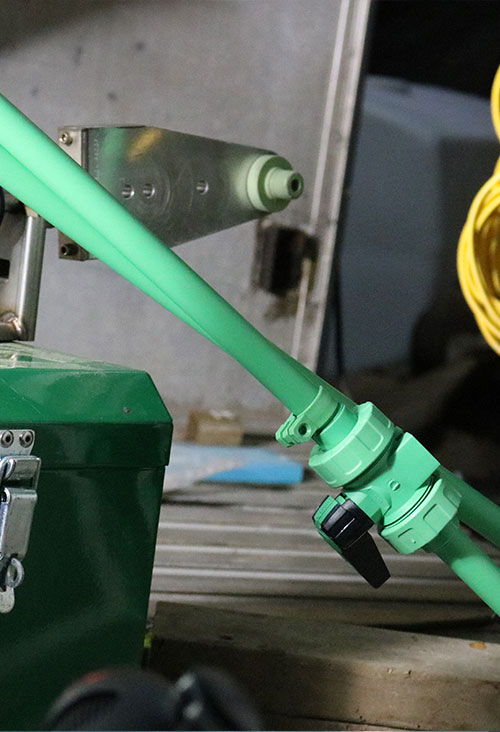
We start by getting measurements that are as accurate to our final goal as possible. Since Aquatherm is a fusion piping system, once we start attaching things, there’s no going back. Everything becomes a solid one-piece unit, except where there are threaded connections. This makes the system much less susceptible to failures at the joints. Accuracy is key here to make the assembly of the bus exterior plumbing go smoothly.
FILTERING OUR WATER THROUGH THE BUS EXTERIOR PLUMBING IS ESSENTIAL TO BEING ABLE TO BE OFF-GRID!
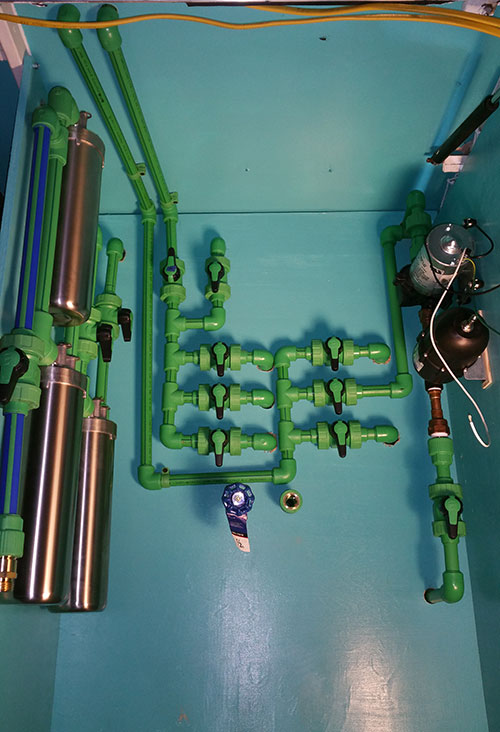
Once accurate measurements have been taken, we can move onto the constructions of our intake pre-filter system. We want to This is a basic filtration system to clean water from the source before it gets stored for final filtration. First, the incoming water passes through 2 absolute 5-micron filters. These remove 98.7% of all contaminants 5 microns or larger including solids and suspended pharmaceuticals. We’re using two because this will essentially double out intake flow rate.
With all large contaminants (+5 μm) removed the intake then moves through an alumina filter. This filter is used to remove fluoride, arsenic, and selenium from the water. It’s made from aluminum oxide, which is the same atomic makeup as ruby and sapphire, but without the impurities that give those gems their color. So when you think about it literally, we’re filtering our water with gemstones…lol.
All of our filters in this portion of the bus exterior plumbing filtration are housed in stainless-steel water filter housings. This eliminates any possibility of leaching things from the standard plastic housings and since it’s all running through Aquatherm the risk of contamination is pretty much zero.
After the source water completes its trek through the pre-filter system, it is deposited into the pre-filter holding tank. After that, there is another stage of filtration that our water will go through, but we can discuss that when we get to the tank installation in a later video.
We’ve handled the pre-filter so now it’s time to address the plumbing manifold. After the water finishes the second stage of filtration (again, next video) it’s picked up by our pump which pressurizes the manifold. This manifold is a series of gate valves that control the water flow of our bus exterior plumbing to the interior. The water can be turned off to a single section or fixture or we can just shut down the entire thing with one turn of a valve handle. Truth be told, just disconnecting the pump would stop the flow completely as well, but this also prevents any possible backflow from soaking anything.
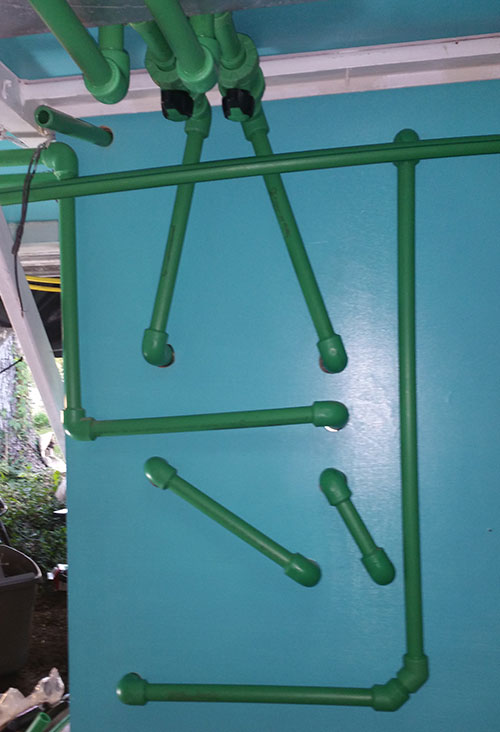
Everything else with the bus exterior plumbing is pretty simple. It’s just a matter of connecting the output from the backside of the manifold to the inflow of the pipes that go up inside.
Check out the video below for the complete installation and of you have any questions feel free to ask.
All of us here at the Wanderlust Bus would like to thank everyone at Aquatherm for their generous sponsorship of our journey. They've provided us with an amazing opportunity to use the cleanest water we possibly can for our family and everything in our home. We would also like to thank Ferguson for loaning us the fusion tool and BWA South for sending Earl to train me. Thank you all!


