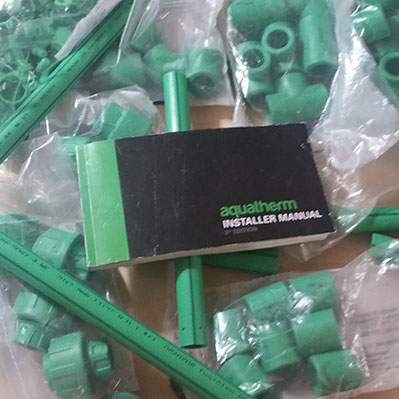
Wanderlust Bus Interior Plumbing with Aquatherm – Pipe Dreams: Pt 1
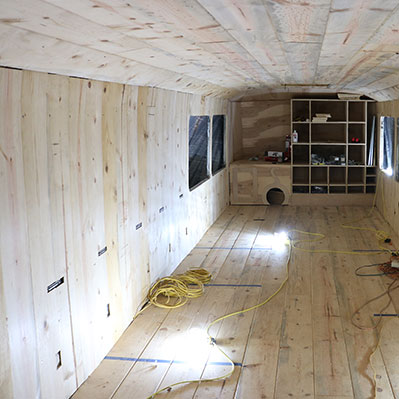
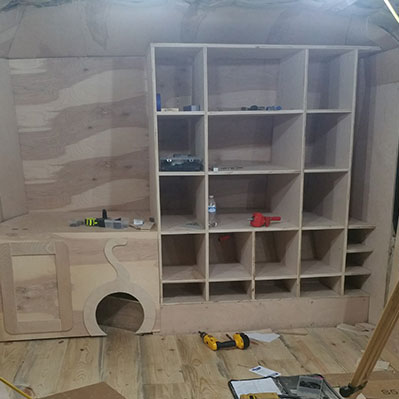
We've been talking about it, alluding to it, referencing it... the time is finally here for you all to SEE it. I'm talking about the Aquatherm pipe that we are installing. Yes, the bus interior plumbing is finally starting to go into place. With the walls floors and ceilings all covered in pristine beetle-kill pine Read more about Wanderlust Bus Interior Plumbing with Aquatherm – Pipe Dreams: Pt 1[…]